coverage
Cover 3 Buzz Defense
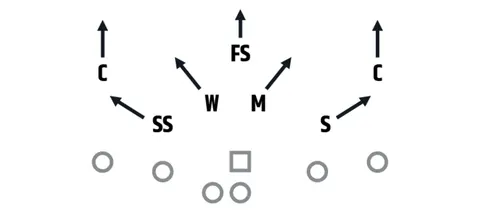
Cover 3 Buzz is Cover 3 with one safety "buzzing" down into a Hook/Curl zone while the other rotates to the deep middle. It ends as a normal three-deep, four-under zone, but in Crucible it starts from a two-high look, like Cover 4, and puts a safety where a linebacker usually is. That disguises the coverage and adds speed underneath.
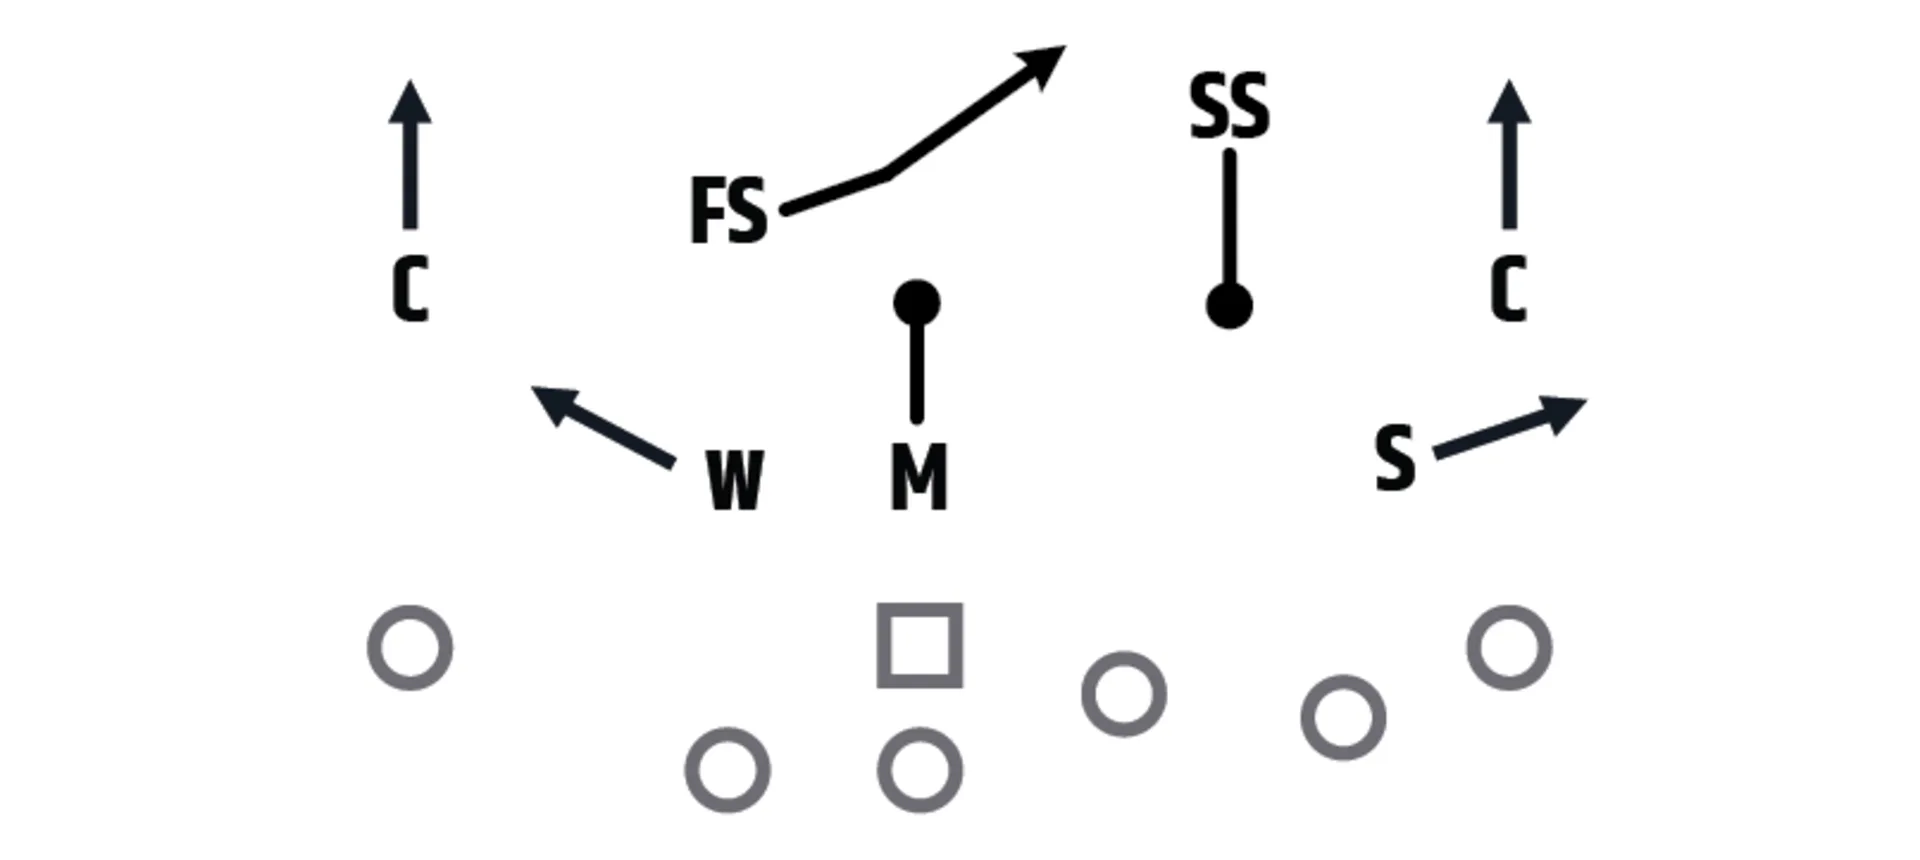
How Cover 3 Buzz Works
The corners still play the deep outside thirds. In Crucible's diagram the free safety rotates to the deep middle and the strong safety buzzes down into a Hook/Curl zone beside the Mike, while the Sam and Will widen to the Curl/Flat zones.
Where It Is Weak
- Everything that hurts Cover 3: seams, Sail and Curl.
- The buzz safety is a defensive back in a linebacker's zone, so runs and quick in-breakers at that area test the safety physically.
- The rotation takes time. Quick throws decided before the safeties finish moving beat the disguise.
How to Recognize It
- A two-high shell before the snap, or a safety creeping toward the box late in the play clock.
- Corners off the ball with outside leverage, as in Cover 3, because they still bail to the deep thirds.
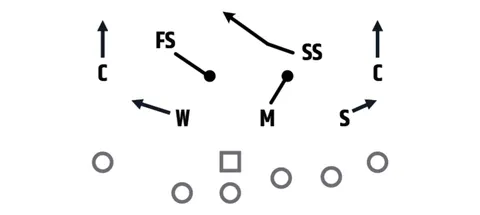
- At the snap one safety drives down into a Hook/Curl zone, the other rotates to the deep middle, and both corners bail.
- One safety down and one to the middle means single-high, whatever the defense showed before the snap.
How a QB Reads It
Once the rotation shows, treat it as Cover 3. On Snag, work away from the rotation; on Hitch, read the safety rotating down. A read that goes to the same side every snap does not change.
Concepts to Rep Against Cover 3 Buzz
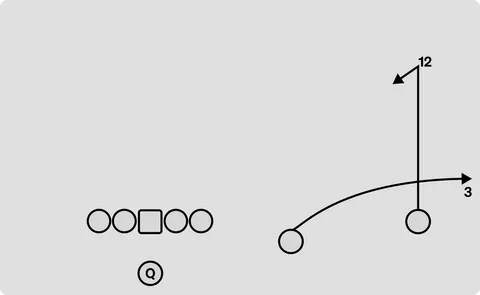 CurlDiagonal / Curl
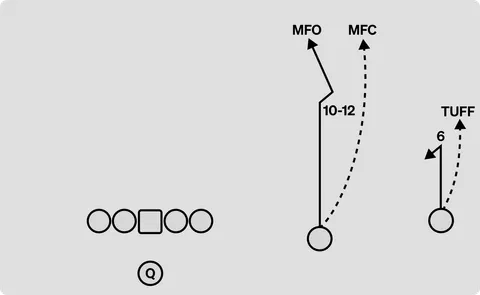 HitchSeam / Hitch
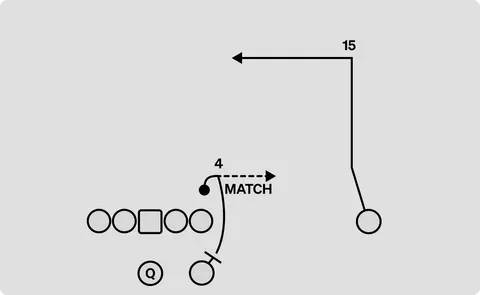 DigHB Option / In
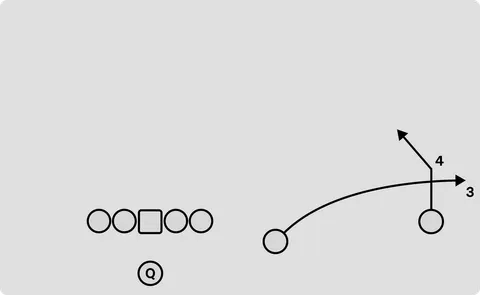 SlantDiagonal / Slant
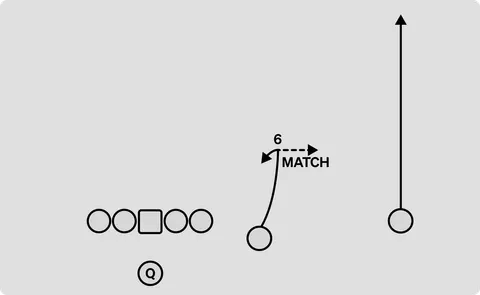 OptionOption / Go
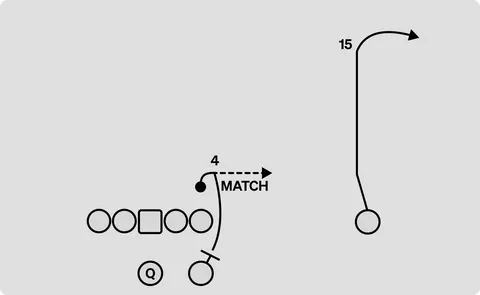 BootHB Option / Bow
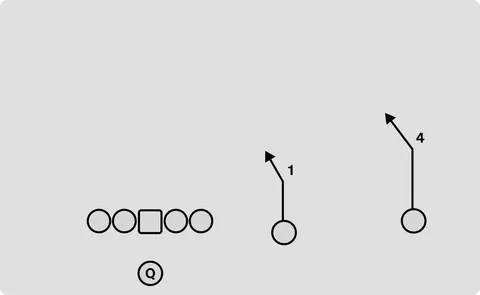 TosserLookie / Slant
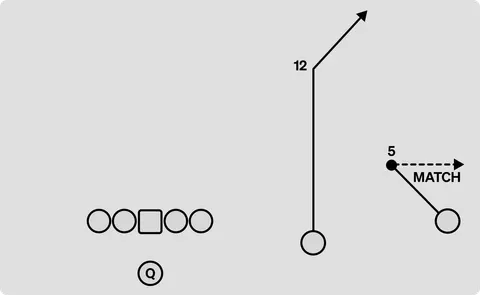 SnagCorner / Snag
+ 21 more in Crucible
Plays You Can Practice Against Cover 3 Buzz
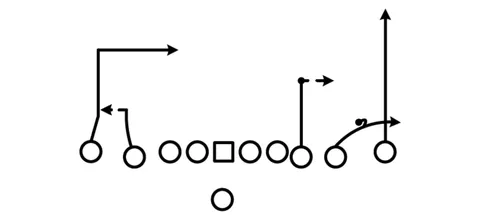 Branch Dig
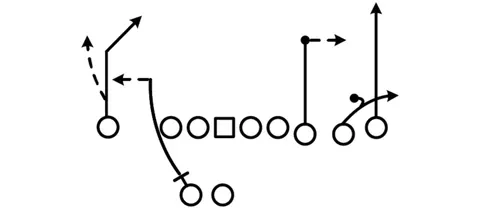 Branch Slope
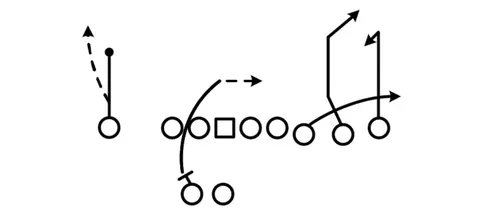 Cafe Stop
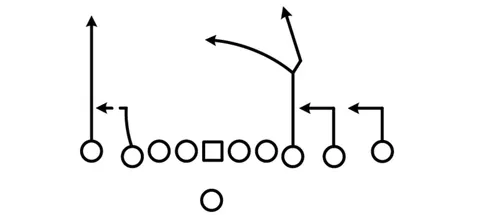 Cruise Option
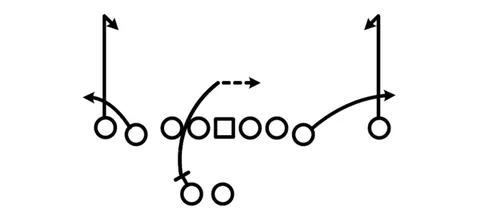 Curl
Curl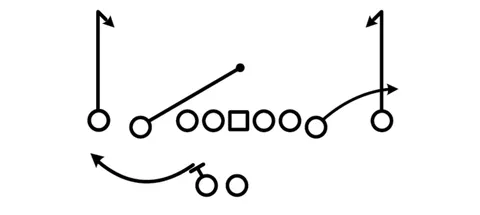 Curl Hook
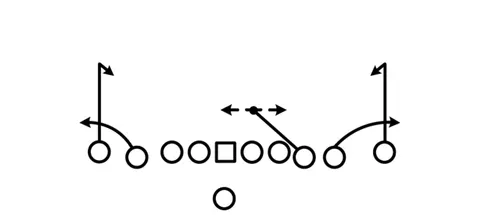 Curl Juke
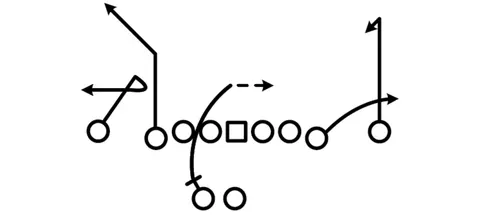 Curl Snag
+ 23 more in Crucible